

FAQ
Landscape Lighting in Panorama City, answered
The questions we hear most from Panorama City homeowners.
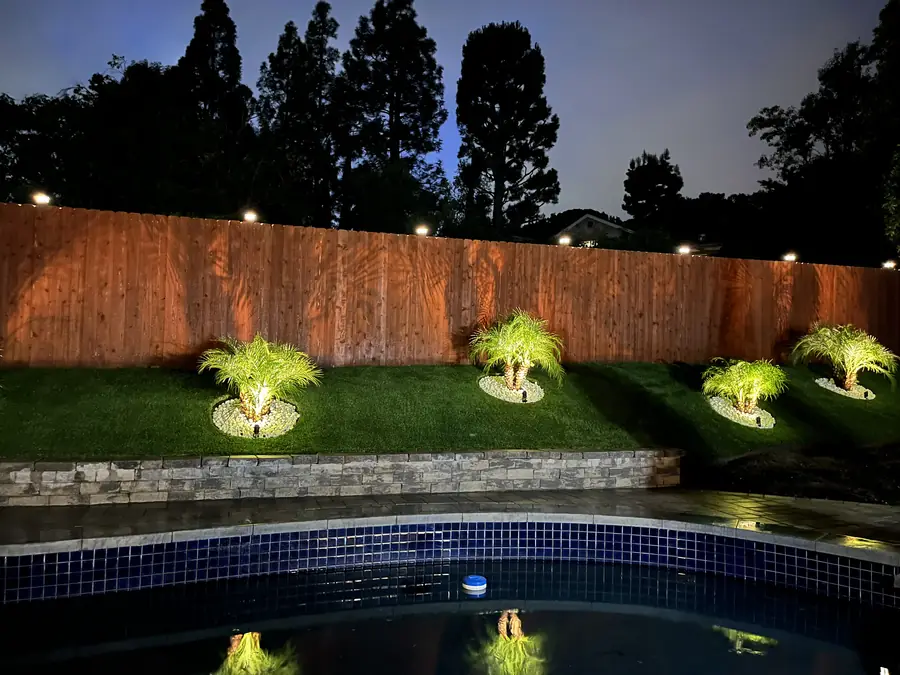
After dark it is the single most effective thing you can do. These blocks were built to a handful of repeated plans, so at night the whole street reads as one flat row of porch bulbs and dark yards. Lighting lets you choose what stays visible. A tree lit from below, a textured wall grazed at a shallow angle, a walk edged in low pools of illumination, together those give your property a shape the neighbors do not have. It achieves that without altering the house itself, which makes it among the least invasive ways to look different.
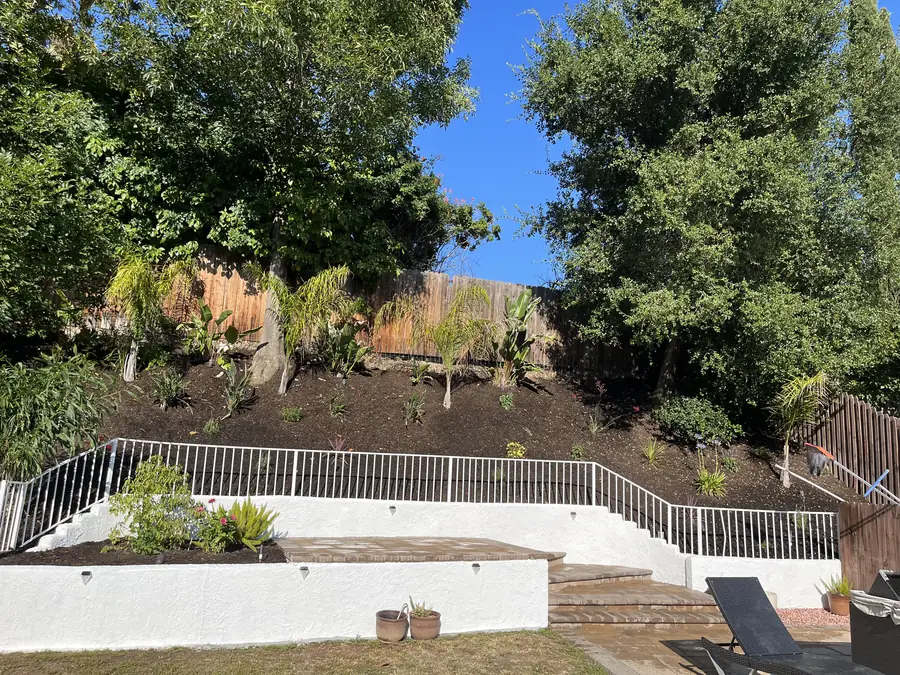
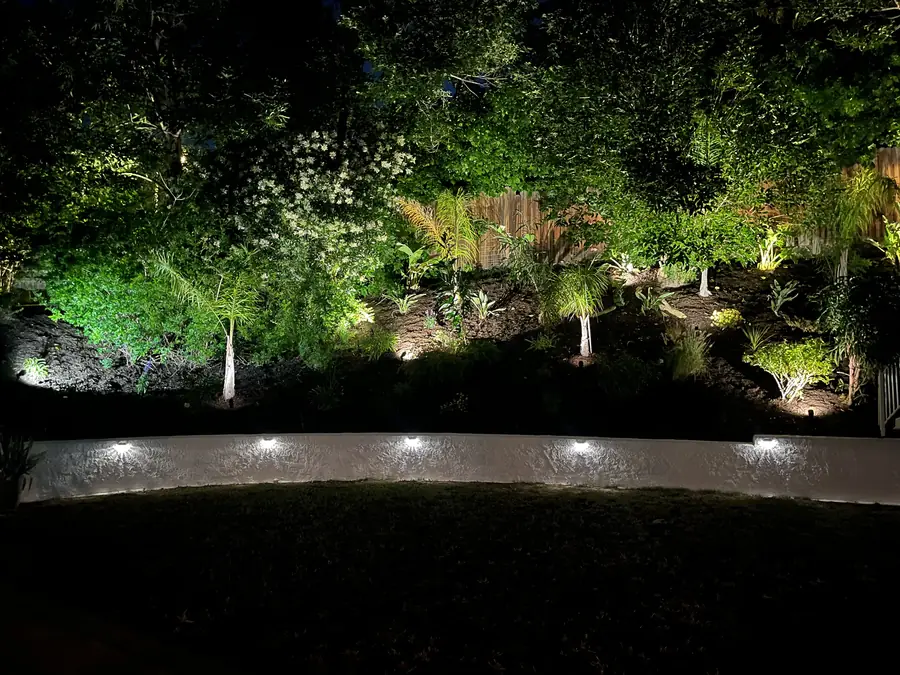
Yes, though all of it has to be manufactured. On a sloped property the ground itself supplies near and far, whereas here everything sits on one plane, so depth comes from layering brightness at different distances from the viewer. We set a low soft layer at the walk, a middle layer in the shrub line, and a brighter accent at the back of the composition such as a tree or a wall. The eye reads that separation as distance. Leaving deliberate dark gaps between the layers matters just as much, since a yard lit evenly everywhere flattens straight back out.
Usually a mix. Path lights sit low and cast a controlled circle onto walkways, and they exist to light the ground rather than to be looked at. Uplights and bullets are directional and get aimed at trees, columns, or the face of the house. Well lights bury flush so nothing shows in daylight, which suits a driveway edge or a planting bed. Step and wall lights hide in risers and low walls for safety. Wash and flood fixtures cover a broad surface such as a fence or a garage face. The plan decides the mix, not a catalog.
Safety and flexibility. A transformer takes household 120 volt power down to 12 volt, so cable running through your planting beds does not carry a dangerous voltage, and fixtures can be moved, added, or reaimed later without tearing anything apart. Line voltage in a yard means conduit, deeper trenching, and far less freedom to change your mind. We size the transformer to the total load with capacity left over, since a system loaded to its limit has nowhere to grow, and we place it where it can be reached and where its hum does not sit outside a bedroom window.
Voltage falls along a cable run, and low voltage systems carry very little margin before fixtures dim and shift color. Fixtures at the far end of a long single line finish noticeably weaker than the ones near the transformer, which looks like a fault but is really a wiring decision. We manage it by sizing cable to the run and the load, and by using hub connections so groups of fixtures branch from a central point at a known distance instead of daisy chaining down one wire. Then we measure voltage at the fixtures rather than assuming it.
It can, and on these properties we assume it might. The original irrigation in this housing stock has been in the ground since the postwar build, and the pipe is brittle enough that a shovel near it is a genuine risk. So we locate and mark lines first, run cable by hand through beds instead of trenching blind, and route around known mains. If we do nick something, we repair it properly rather than leaving it. Where a project covers both systems, we prefer to open the ground once and place the irrigation and lighting runs together.
Color temperature and output shape the look far more than fixture styling does. A warm tone in the range used for residential work flatters stucco, wood, and foliage, while cooler light turns planting gray and makes a house look like a parking lot. Output should match the target, since a small tree does not need what a two story facade needs, and overlit is the most common condition we get called to correct. Fixtures with replaceable lamps let you retune later, while integrated units mean swapping the whole head. LEDs also draw far less, so one transformer supports more of them.
Less than people expect. Solid brass or copper housings and quality gaskets outlast thin painted aluminum in wet soil, and that is worth paying for. But what determines whether a system looks good is the design and the installation: where each fixture sits, what it points at, how bright it is relative to everything around it, and whether the wiring holds voltage. Beautiful fixtures aimed badly look bad. Modest fixtures placed with intent look expensive. Given a choice, we would rather put the budget into the right number of fixtures in the right places.
Deliberate aiming and shielding, which counts for more here than on a large parcel because the houses sit close together on modest lots. Glare is light striking your eye directly instead of the surface it was meant for, so we tuck fixtures behind planting where possible, fit shrouds and hoods on uplights, and tilt bullets so the beam terminates on a trunk or a wall rather than continuing past it into a window. Brightness gets set to the lowest level that still reads well. We aim at night with the system running, since aiming a fixture in daylight is guesswork.
Automatically, in some form. A photocell brings the system on at dusk and off at dawn, which is simple but leaves everything burning all night. An astronomic timer tracks sunset by date and location so the on time follows the season without adjustment, and it lets you shut down at a set hour. Many owners run a mix, keeping safety lighting at walks and steps on through the night while accent lighting goes off later. Controllers with app or smart home integration are available if you want scenes and schedules, though the basic timer approach handles it fine.
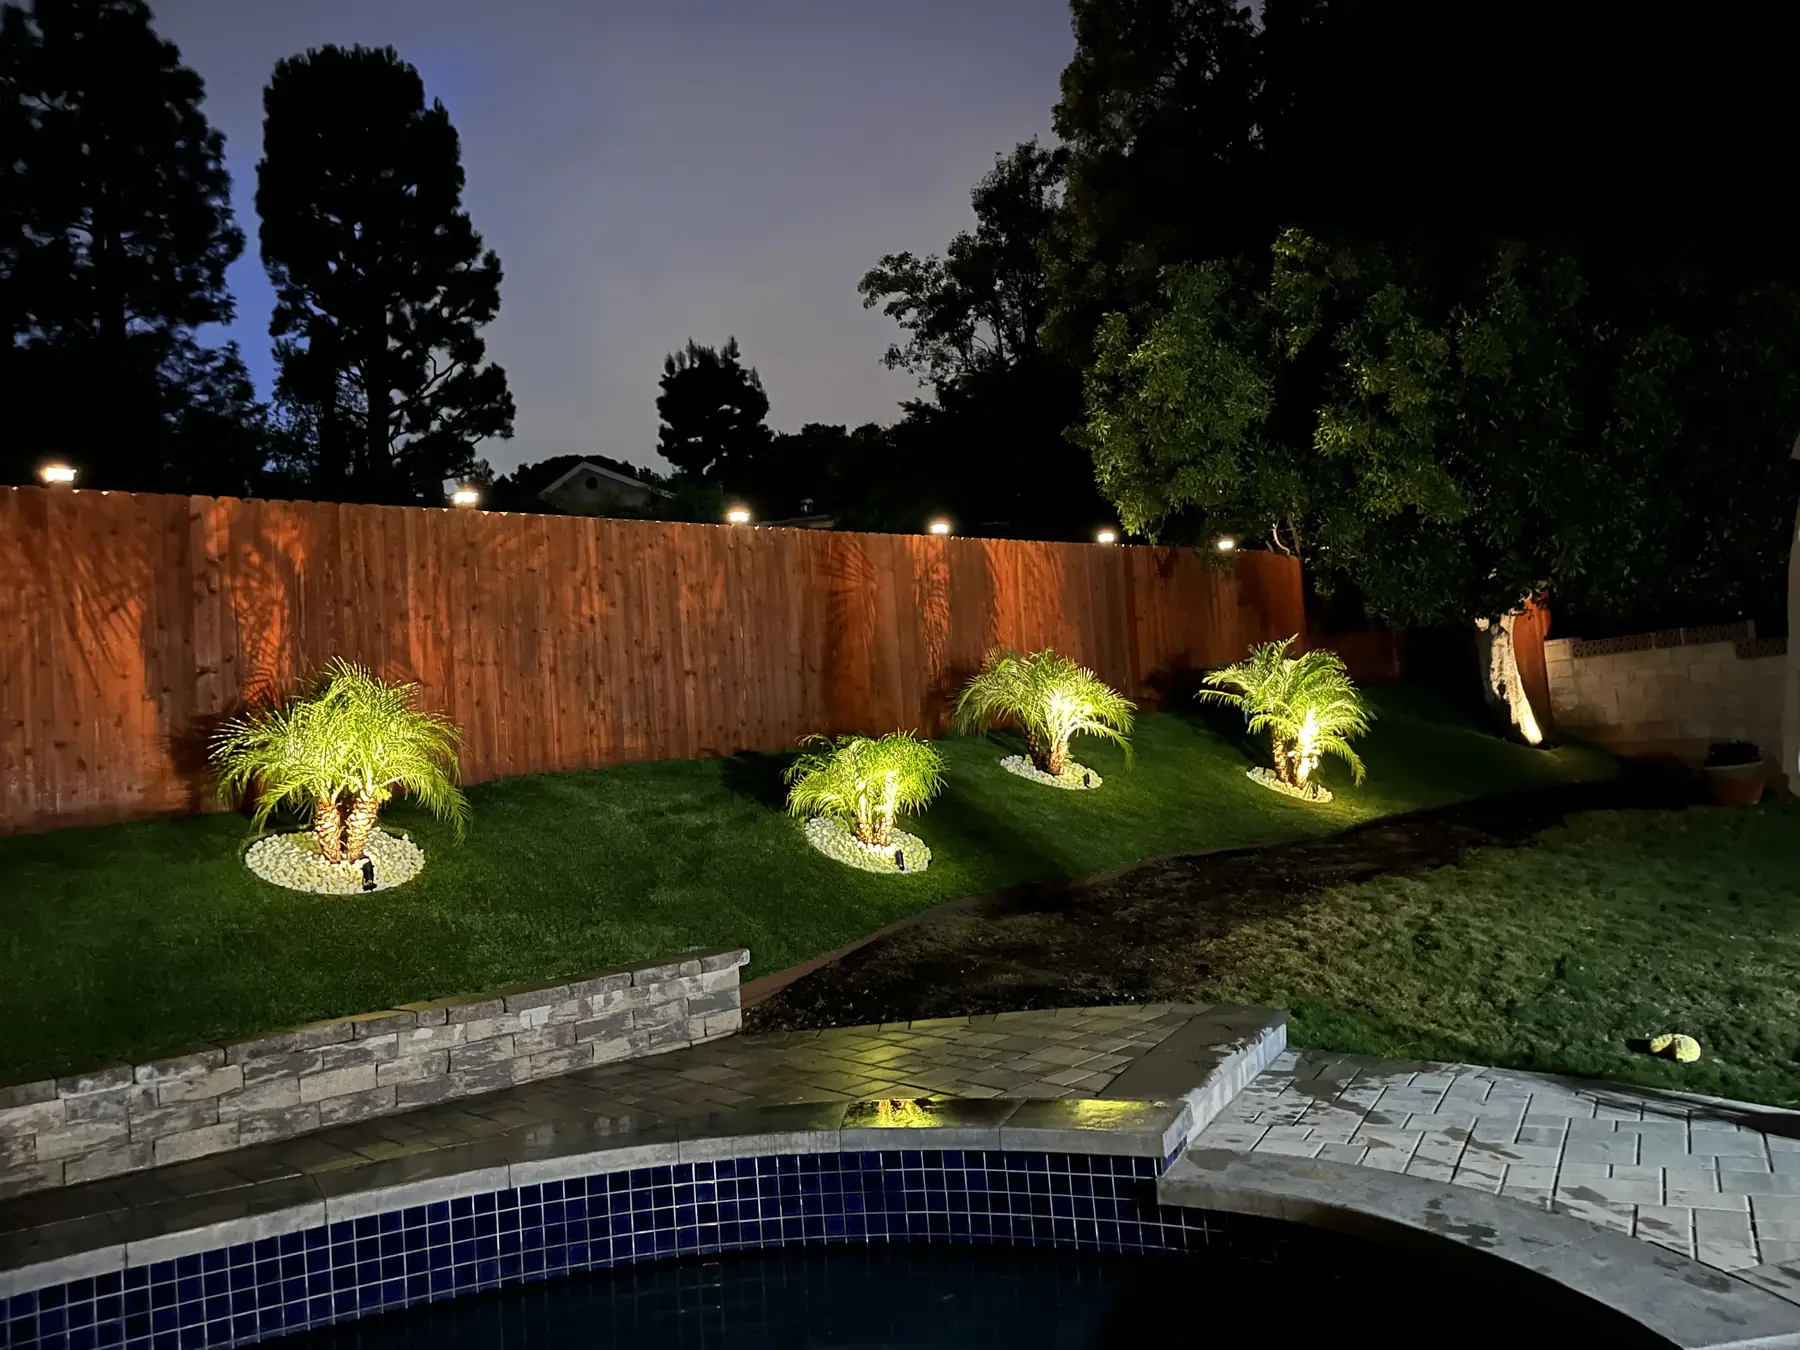
From below, and from more than one side. A single fixture at the base flattens a canopy and throws a hard shadow, while two or three placed apart wrap the trunk and reveal the branching. Beam spread should suit the tree, narrow for a tall slim trunk and wider for a spreading canopy. Aim so the beam stops inside the canopy instead of firing off into the sky. Moonlighting, meaning a fixture mounted high in the tree pointing down, casts branch shadows across the ground and looks remarkably natural. Fixtures on trees need slack cable so growth does not strangle it.
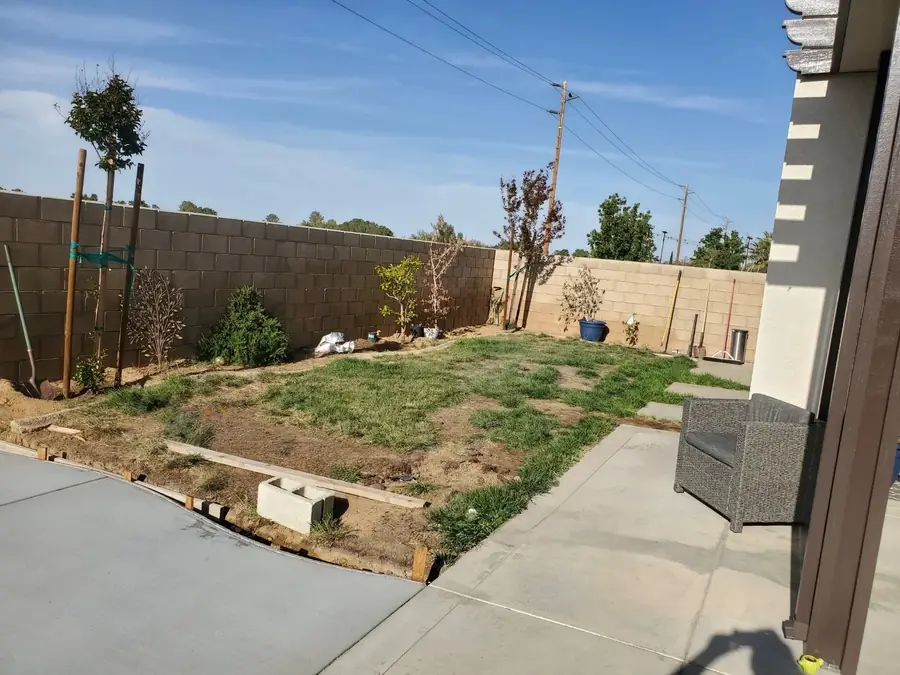
Plan it before, install part of it during. Once a new slab is poured, getting a wire from one side to the other means cutting concrete or taking a long detour around, so any sleeve that will be needed has to go in while the ground is open. We set conduit sleeves under the new paving, place well light housings in the pour where any are going into the surface, and stub cable to the spots where fixtures will land. The fixtures themselves can wait until the budget allows. Skipping the sleeves is the most common regret on these projects.
That is one of its most practical uses. Level changes are where people trip, and a step invisible after dark is a hazard whether or not it is a code issue. Recessed step lights set into risers or side walls put light on the tread with no glare source at eye level. A downlight from the porch structure covers a landing evenly. Low wall lights work where a seat wall or planter runs alongside. The goal is enough light to read the edge of each tread, not a bright pool that blinds you on the way in.
In layers, and kept low. Dining and lounge areas want soft ambient light rather than a floodlit surface, so we combine downlights from a pergola or the house, a few uplights in the surrounding planting to keep the edges from going black, and step or wall fixtures at any grade change. Anything putting a bare source in your sightline while seated is the wrong choice. Because the space is compact, a dimmable or zoned setup earns its keep, letting you run brighter while cooking and drop it right down once people sit.
Yes, provided the backbone is sized for the finished plan. We design the whole layout, then install the transformer and cable runs with capacity to spare, so later fixtures simply tap into what already exists. Most owners here begin at the front, since that is the part changing how the property presents and it covers the walk and entry at the same time. Rear yard and accent lighting follow when it suits. Undersizing the transformer or the cable to save money at the outset is what forces an expensive redo later.
Not much, but it is not zero. Fixtures drift out of aim from sprinkler impact, wind, and people working in the beds, so they want checking and resetting periodically. Planting grows, and a shrub that was small when the fixture went in will eventually block it, meaning the fixture moves or the shrub gets pruned. Lenses collect dust and hard water spotting from irrigation overspray and need cleaning. Connections should be inspected for corrosion. We walk systems at night, since that is the only time you can actually see what has drifted, dimmed, or gone out.
Our own people. Daniels Landscaping works under one licensed contractor. The same team lays the plan out on your property, runs and buries the cable, mounts the transformer, sets every fixture, and returns after dark to aim it. Lighting is a craft where the last hour is the one that matters, and that hour only happens when the installers answer to the company that promised you the result. There is no handoff, and nobody unfamiliar with the design showing up to finish it.
Give us a call at (818) 443-9300 and we will come look at the property, ideally seeing it in daylight and talking through how it feels after dark. We identify what is worth lighting, what should stay in shadow, and where the transformer and cable runs make sense. You then receive a free written estimate covering fixture counts, locations, and the electrical layout, with no cost for the consultation. Daniels Landscaping carries California license 1138709. If you would like to phase the work, we will show you how to break it up before you commit.